Chocolate and Toasted Hazelnut Milk
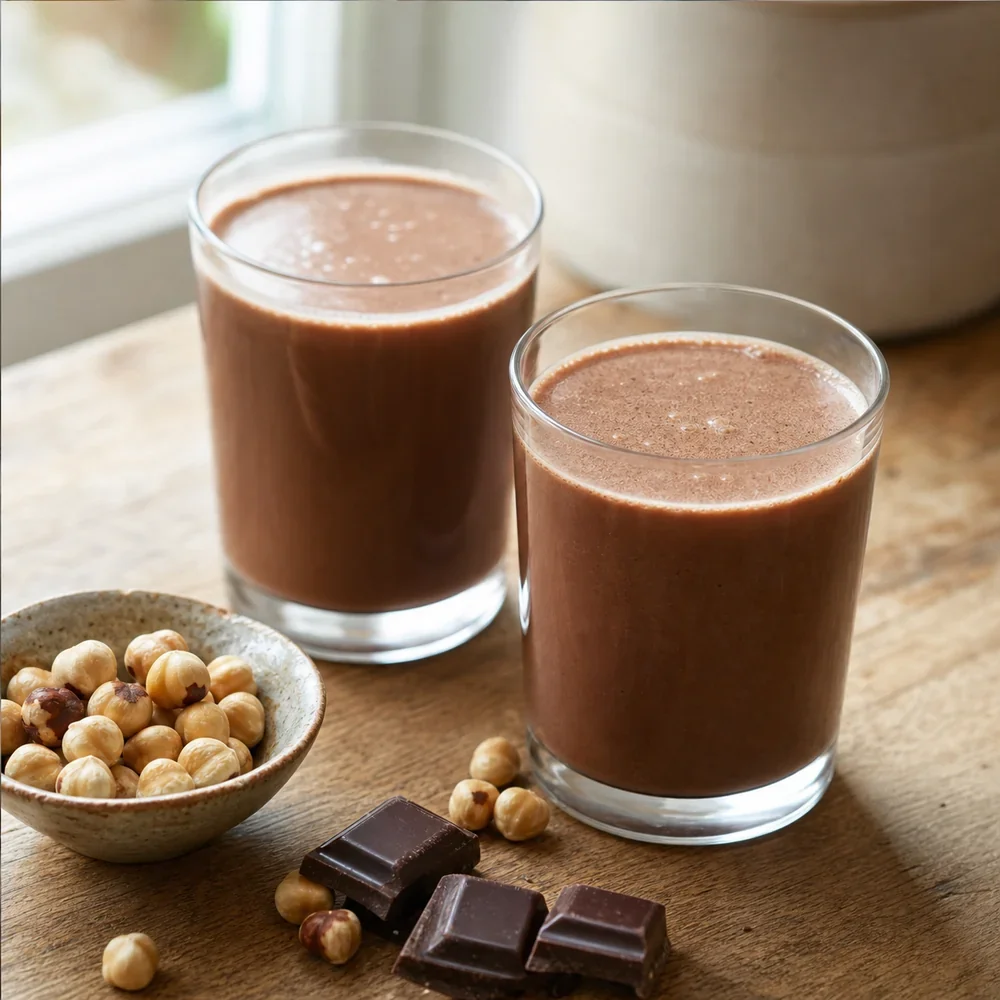

Chocolate Hazelnut Milk
A rich homemade chocolate hazelnut milk made from deeply toasted hazelnuts, good semisweet chocolate, and a long soak for a creamy dairy-free drink.
Chocolate and toasted hazelnut milk is a small project with a generous payoff: a chilled dairy-free drink that tastes like roasted nuts first and chocolate second, not like a thin sweetened beverage. Toasting the hazelnuts before soaking gives the finished milk a deeper flavor and a warm, almost praline-like aroma.
The method is simple but benefits from patience. The hazelnuts need time to hydrate, then they are blended thoroughly with fresh water and strained through a nut milk bag, fine cheesecloth, or a very clean lint-free towel. Squeezing the cloth firmly is what gives the milk body, so do not rush that part.
Melting the chocolate separately keeps the texture smooth. Start by whisking in a small splash of hazelnut milk to make a glossy sauce, then loosen it with more milk before combining everything. This prevents little chocolate flecks and helps the drink chill into a clean, creamy pour.
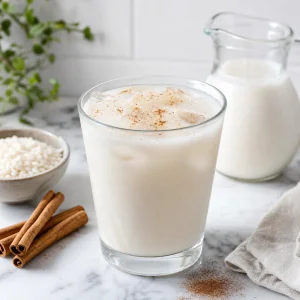
Serve it cold in small glasses, shake it before pouring, or use it as a base for iced coffee and milkshakes. The sweetness is moderate with semisweet chocolate; add a little sugar, maple syrup, or simple syrup only if you want a sweeter drink.
Nutrition (per serving)
Directions
-
1
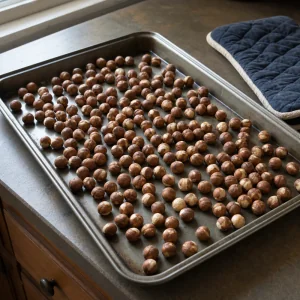
Heat the oven to 350°F and spread the hazelnuts on a rimmed baking sheet in a single layer.
-
2
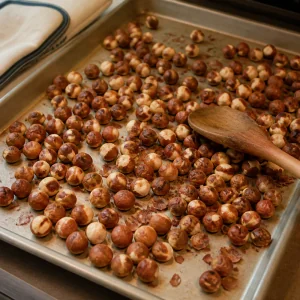
Toast the hazelnuts for 10 minutes, stir them, then toast for 2 to 5 minutes more, until they smell deeply nutty and look golden under the skins.
-
3
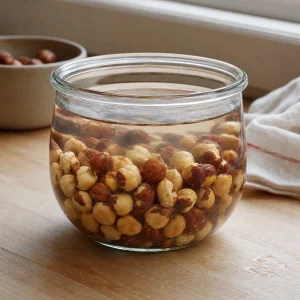
Let the hazelnuts cool until just warm, then place them in a large bowl or jar and cover with at least 1 inch of fresh water.
-
4
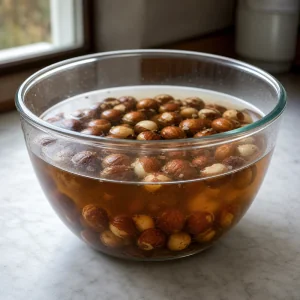
Soak the hazelnuts at room temperature for 8 to 12 hours, or refrigerate for up to 24 hours if the kitchen is warm.
-
5
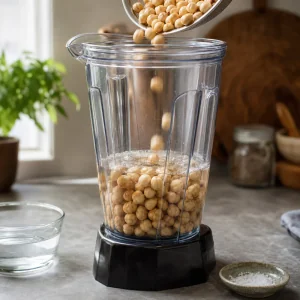
Drain and rinse the hazelnuts, then add them to a blender with 3 1/2 cups fresh water and the pinch of salt.
-
6
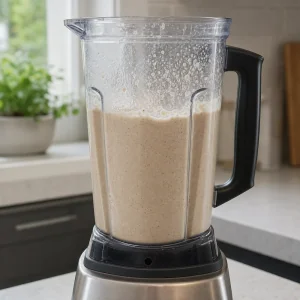
Blend for 2 to 3 minutes, stopping once to scrape down the blender if needed, until the mixture looks pale, thick, and very finely ground.
-
7
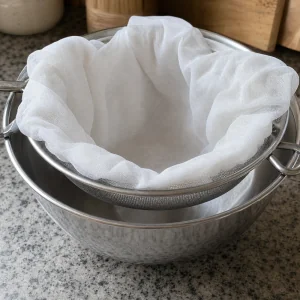
Set a fine strainer over a large bowl and line it with a nut milk bag, fine cheesecloth, or a clean lint-free towel.
-
8
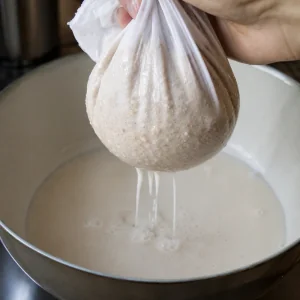
Pour in the blended hazelnut mixture, let the liquid drain, then gather the cloth and squeeze firmly until the nut meal feels mostly dry.
-
9
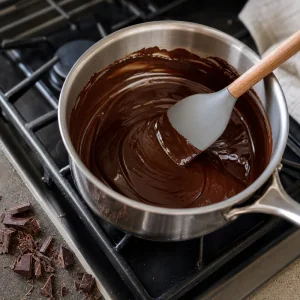
Melt the chocolate gently in a saucepan over low heat or in short microwave bursts, stirring until smooth.
-
10
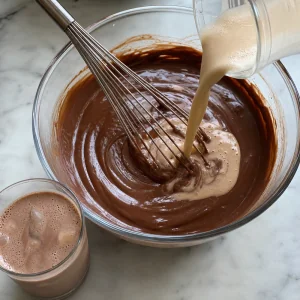
Whisk a few spoonfuls of hazelnut milk into the melted chocolate to make a glossy sauce, then slowly whisk in the remaining hazelnut milk until smooth. Sweeten to taste, chill well, and shake before serving.
Ingredients
- Hazelnuts:2 cups
- Water, plus more for soaking:3 1/2 cups
- Semisweet Chocolate, chopped or chips:1 1/4 cups
- Fine Sea Salt:1 pinch
- Sugar, Maple Syrup, or Simple Syrup:to taste
Tips & Notes
- Use a high-speed blender if you have one; it extracts more flavor and body from the toasted nuts.
- For the cleanest texture, strain through a nut milk bag or butter muslin rather than a loose kitchen towel.
- Dry the leftover hazelnut meal in a low oven and add it to granola, crumble topping, or quick bread batter.
- Homemade nut milk separates naturally, so shake or stir it before each pour.